
Macramé plant hangers are a charming way to display your favorite plants while adding a touch of bohemian flair to your living space. Perfect to clear up surface space or keep your green friends away from your furry friends. If you’re new to this craft, don’t worry – this simple tutorial will guide you through the process step by step.
Materials and Tools
- 3 mm twisted cotton rope
- Wood ring (roughly 45 mm diameter is what I use)
- measuring tape
- scissors
Additional Suggested Tools
- Garment Hanger; nothing fancy, just something sturdy enough to hold your piece up while you work (trust me it makes a world of difference)
- Large s-hooks
- Beads with a large enough opening for rope, you can add these at any point
Hanging
I like to hang mine on my garment hanger with s-hooks and on sturdy wall/ceiling hooks.
Rope Lengths
- 4 x 7ft
- 4 x 12ft
- 2 x 2ft
Knot Guide
These are the basic building blocks for macramé, be sure to familiarize yourself with these stitches before starting
- Spiral knot
- Square knot
- Gathering knot


credit: ecocrafta.blogspot.com
Why 2 different lengths?
Spiral and square knots use a disproportional amount of rope across the 4 strings needed. To compensate and use the most efficient amount, we will use 2 different lengths. If this becomes confusing, you can just use 8 12ft pieces of rope.
Step 1: Prepare the Ropes
Gather all of your 7ft and 12ft cords together through the wood ring, so that the middle of each string sits on the ring.
Starting as close to the ring as possible, use one of the 2ft pieces to make a gathering knot securing the cords together.
From here you are going to be working in 4 identical sections, start each section with 2 short cords and 2 longer cords in the following order: Long, Short, Short, Long
Step 2: Start the Hanger
- Make 28 spiral knots (~5″)
- Skip 5 inches
- Make 24 more spiral knots (~4″)
Repeat steps on all 4 sections.
Step 3: Make the Basket
- Skip 3.5 inches
- Using 2 strings from one section, and 2 from the neighboring section, make at least 1 square knot to join. Repeating through the rest of the sections
- Skip 4 inches
- Repeat step 2
- Join all 4 sections back together with a gathering knot
Step 4: Finish the Hanger
Trim remaining cords so just a few inches hang out and you’re done!
To finish off the hanger, gather all the rope ends together and tie a gathering knot at the bottom. Leave a few inches of space below the gathering knot for the pot to sit securely.
I encourage you to continue and play around with different combinations and amounts of knots and skips, this is just one way I like to make mine!
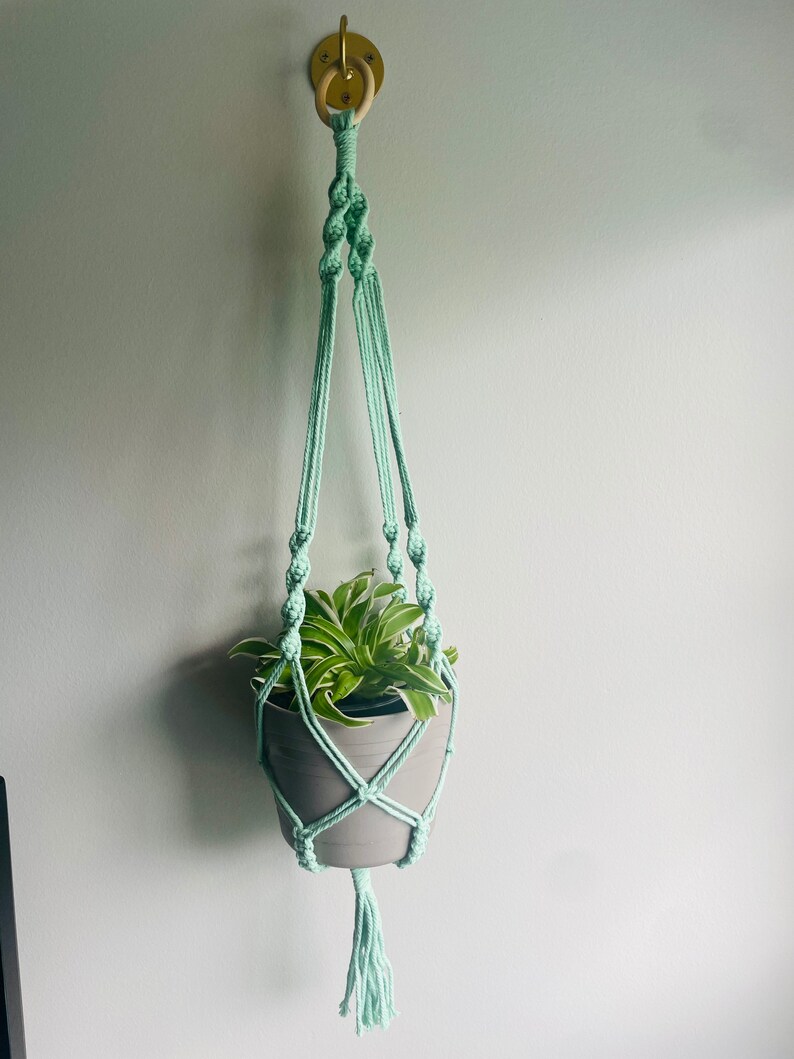
Congratulations! You’ve just created your very own macrame plant hanger. Now, simply place a potted plant into the hanger and find the perfect spot to hang it in your home. Enjoy your new boho-inspired decor!


