
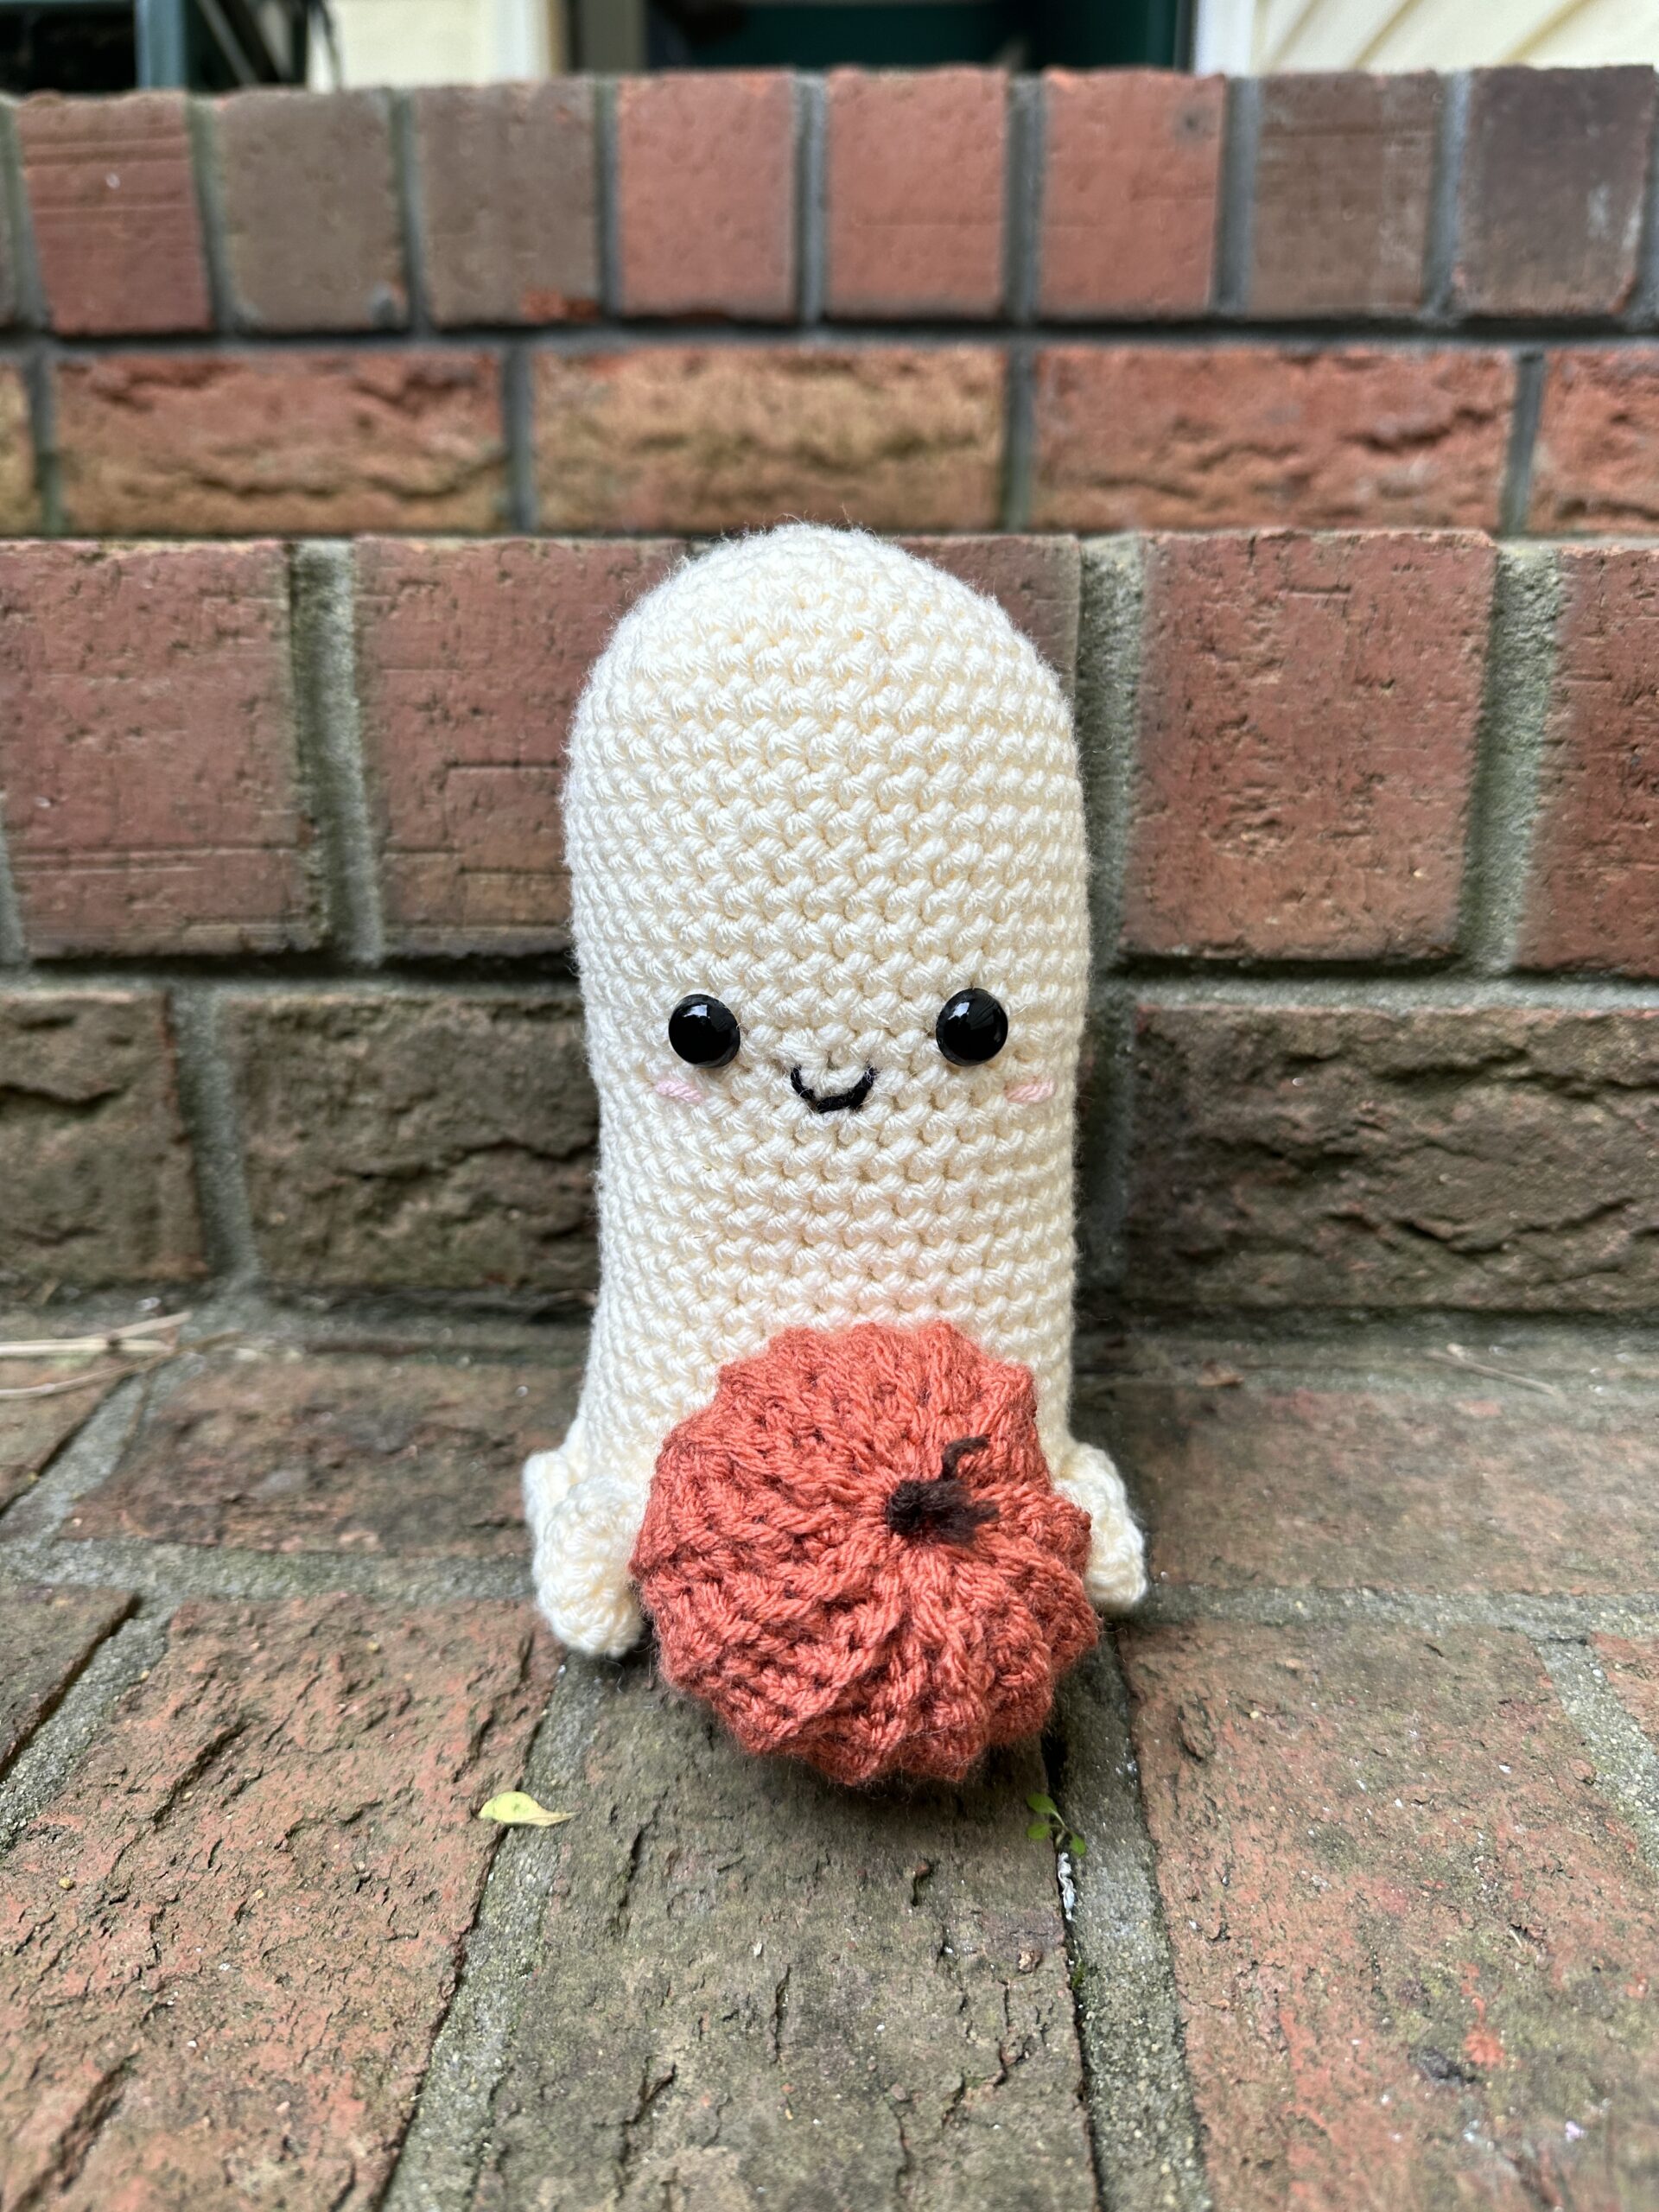
If you’re an avid crocheter looking for a fun and spooky project, creating a crochet ghost amigurumi might be just the thing for you! In this post, we will guide you through the process of bringing this adorable and eerie creation to life using nothing but yarn, a crochet hook, and a bit of creativity. Whether you’re a seasoned crocheter or just starting out, this DIY project is perfect for all skill levels. So, gather your supplies and get ready to craft your very own ghostly amigurumi!
Materials and Tools
- Yarn – Gauge 4 medium (Worsted), cotton or acrylic is fine
- Colors:
- White (or preferred color)
- Colors:
- Hook – 5.5 or 6mm
- Tapestry needle, to weave in tails
- Plastic stuffed animal eyes and backing
- Embroidery thread and needle
- Colors:
- Black
- Light pink (optional)
- Colors:
Finished Dimensions
4” x 8”
Stitch Guide
sc- single crochet
incr- increase
decr – decrease
BLO – back loop only
Step 1: Start with Magic Ring or Chain
For this project, we are doing what’s called “crocheting in the round”. This means instead of starting with a chain the length of your project, you’ll start with a small circle and work out from there. The most popular method is the Magic Ring, it is easier to see than explain so I would recommend checking out some videos.

credit: www.justalittlecrochet.com
However I prefer to use this method:
Chain 2-4, join to first chain with a slip stitch, and continue working in the circle you just made
Rnd 0
Using your preferred yarn color, make a magic circle or use the method above.
Step 2: Body
*Chain 1 to start each row
Rnd 1
Make 6 single crochets in the circle you made, not counting the first chain 1
Rnd 2
In the first stitch hole, make 2 single crochets.
This is what is called increasing.
Follow this pattern around the rest of the 6 stitches.
Ending number of stitches in round: 12
Rnd 3
In the first stitch make 1 single crochet, in the next stitch make 2 single crochets. Follow this pattern around the rest of the 12 stitches.
Ending number of stitches in round: 18
Rnd 4
Similar to the previous round, you will make 1 single crochet in each of the first 3 stitches. In the fourth stitch make 2 double crochet, following this pattern the rest of the way.
Ending number of stitches in round: 24
Rnd 5
Continuing to increase, make 1 single crochet in each of the first 4 stitches. In the fifth stitch make 2 single crochets, following this pattern the rest of the way.
Ending number of stitches in round: 30
Rnd 6
Continuing to increase, make 1 single crochet in each of the first 5 stitches. In the sixth stitch make 2 single crochets, following this pattern the rest of the way.
Ending number of stitches in round: 36
Rnd 7
Continuing to increase, make 1 single crochet in each of the first 6 stitches. In the seventh stitch make 2 single crochets, following this pattern the rest of the way.
Ending number of stitches in round: 42
Rnd 8-15
Single crochet all the way around for 7 rows.
Ending number of stitches in round: 42
Rnd 16
Make single crochets in the first 5 stitches. In the sixth stitch start a single crochet by pulling a loop through the stitch, and instead of completing it, pull another loop through the seventh loop. Complete the stitch as usual by pulling your working yarn through both loops you pulled up.
This is what is called decreasing.
Continue this pattern the rest of the way.
Ending number of stitches in round: 36
Rnd 17-28
Single crochet all the way around for 14 rows.
Ending number of stitches in rounds: 36
*Insert your eyes around Rnd 15-20, now is also a good time to embroider your mouth and cheeks.*
Rnd 29
Working in only the BACK LOOP, single crochet all the way around.
Ending number of stitches in rounds: 36
Rnd 30-35
Make a single crochet in each of the first 4 stitches, decrease the fifth and sixth stitch.
Continue decreasing in the same pattern for the next 3 rounds, going down to 3 single crochets to start, then 2, then 1.
Decrease in every stitch in the last round and clip your string with enough leftover to weave through the final 6 stitches.
Step 3: Skirt
Working in the front loops left over from Rnd 29, make 2 single crochets in each stitch. This will creating a ruffling effect.
Make another round of single crochets in each stitch and you’re done!
Weave in all your ends and you’re ready to cuddle with your new spooky buddy, Enjoy!


